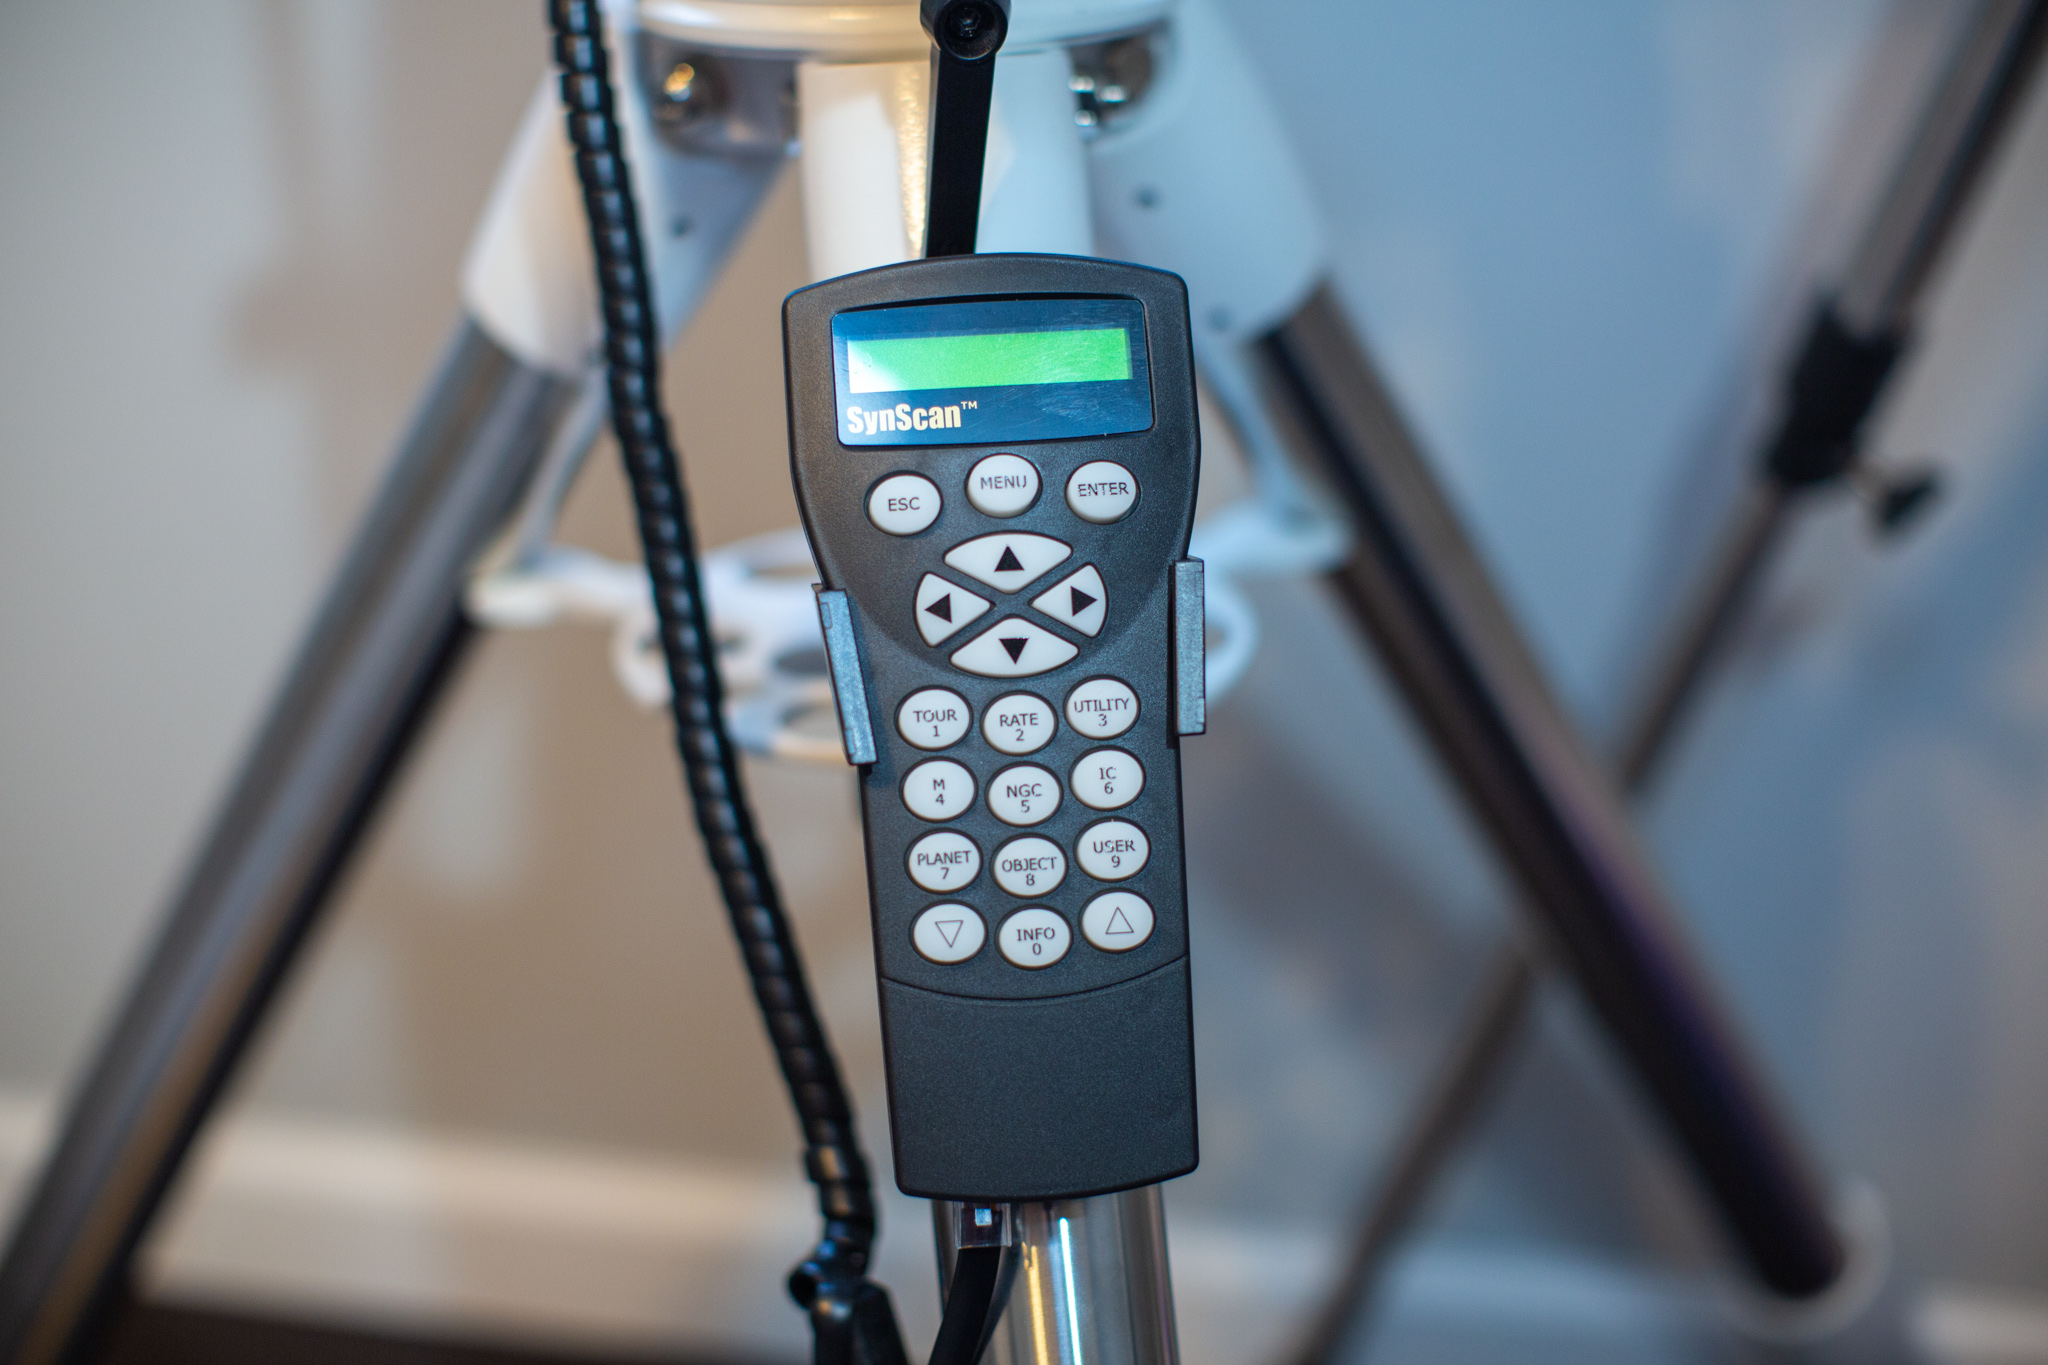
Recently I had to spend a decent amount of time researching how to upgrade Sky-Watcher SynScan hand controller firmware on my EQ6-R Pro mount. Despite official documentation, a number of forum discussions, and a handful of videos on YouTube, this turned out to be a journey of trial and error. It is a good practice to keep your hardware up to date with the latest fixes, so it helps to have a simple repeatable upgrade procedure. In this post, we will go step by step through the upgrade sequence, covering the prep-work and additional hardware needs.
Quick intro rant
Just before we dive into details I need to get something off my chest. If you’re new to astrophotography and haven’t bought into the Sky-Watcher ecosystem, be warned. They have complicated their hardware and software a lot more than warranted relative to the closest competitor. Celestron is comparable in functionality and precision but is an order of magnitude easier and user-friendlier to operate. I own both Sky-Watcher and Celestron mounts and can say with confidence that Sky-Watcher is lagging behind in usability. For example:
- Why, on Earth, would Sky-Watcher put a USB type-B port on the hand controller, but not allow it to be used to program/control it. It is used as a power supply port.
- USB was invented in 1994 and shortly after that PCs stopped carrying COM ports. Why would Sky-Watcher have a COM-port based interface for their mount? It’s been 16 years guys. The upgrade is overdue.
- Sky-Watcher SynScan app for iPhone looks like something a school kid would write. Contrast it to SkyPortal from Celestron – night and day.
- SynScan GPS unit plugs into the hand controller rather than the mount, like Celestron SkySync GPS accessory. Not to mention, that hand controller will prompt for daylight savings time and time zone even with GPS plugged in. I mean, come on, you can calculate it based on date/time and location from the GPS unit.
I love their telescopes and the mount does an excellent job tracking celestial objects, but I wish it wasn’t so clunky to deal with.
Cable-up
Unless you haven’t cleaned your house since 1990-ies, chances are you will need to buy one or two additional cables to upgrade controller firmware. There are two version of the controller as of today – V3 and V4/V5. They are programmed exactly the same way but differ in the power supply port. V5 controller uses USB type B port for power supply, while V3 uses 5.5×2.1 round connector.
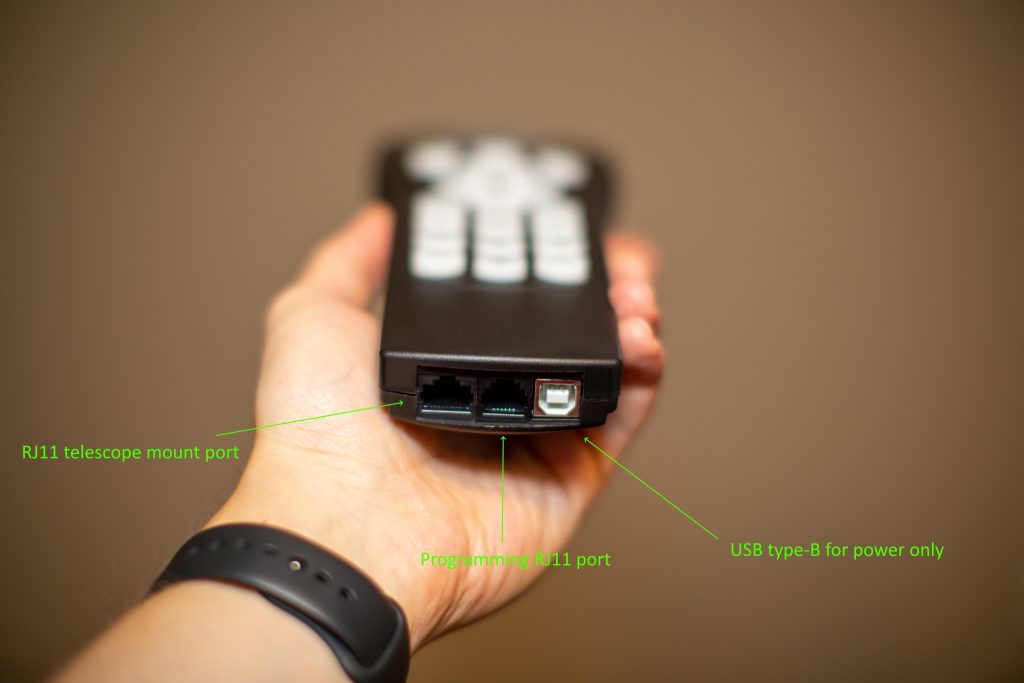
There are two options to connect this controller to the PC for upgrade:
- USB to DB9 + DB9 to RJ11 cable combination. This is the most popular option that everyone and their grandmother uses in the community.
- USB to RJ11 direct cable. I prefer this option because I like to keep things simple.
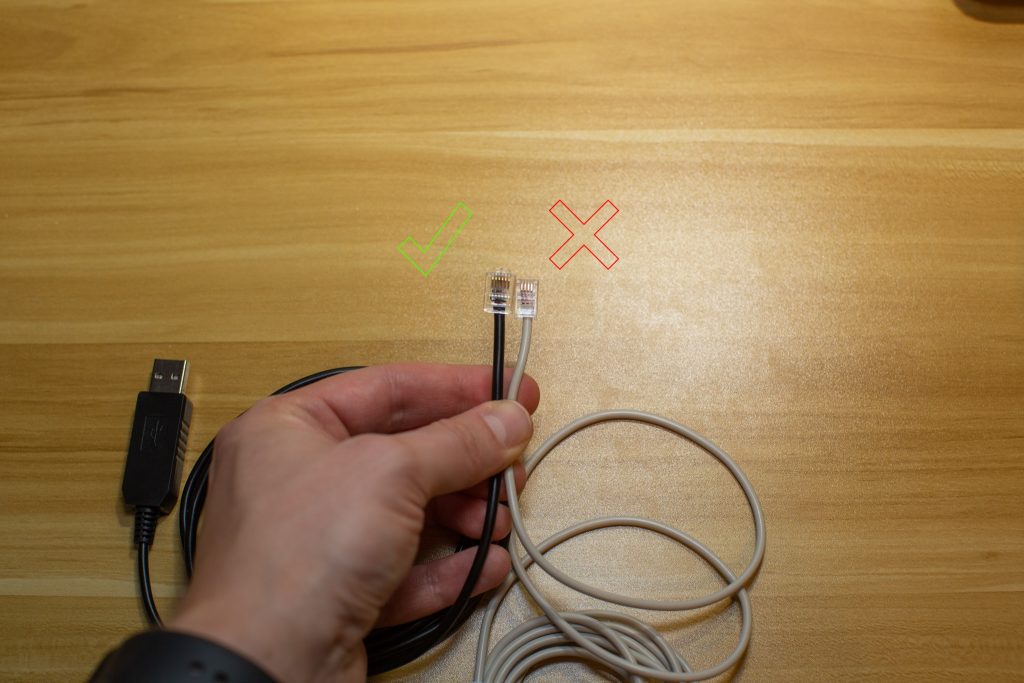
It is important to pay attention to the number of pins on the RJ11 connector. There must be 6 pins rather than 4, even though only 4 of those 6 pins actually carry the signal to the hand-controller. I got this cable off of Amazon for the job.
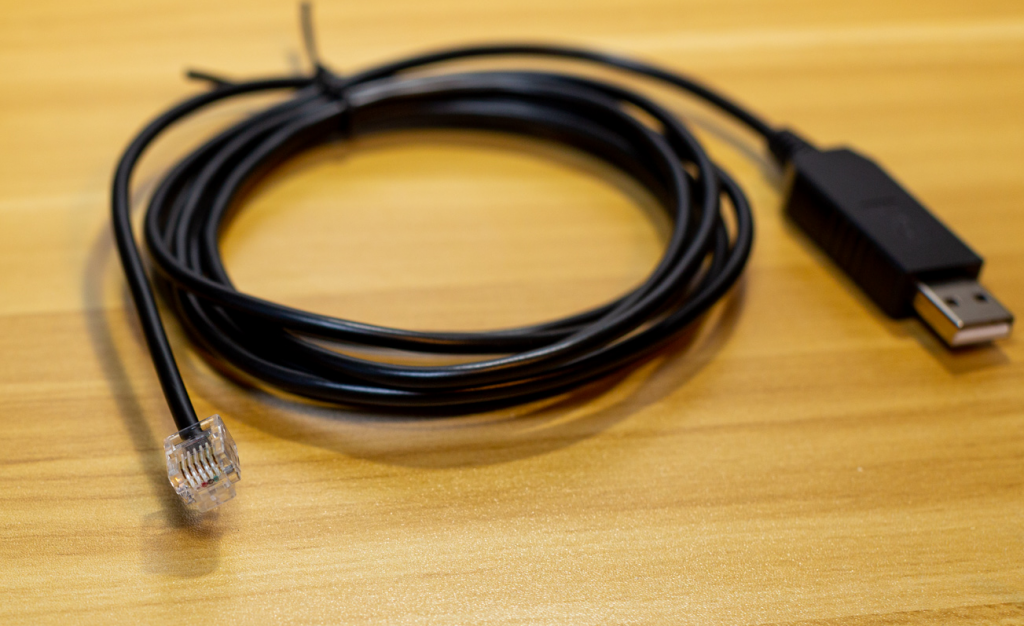
This cable won’t work out of the box because the actual controller inside the cable needs a driver. The driver is available from TFDIChip website and is comprised of two components – USB to Serial converter and COM port. The firmware upgrade will use a COM port to send the data to, which then will be picked up by the converter and translated into the USB signal. That signal will be sent to the RJ11 port plugged into the hand controller.
The wrong cable
There are a few RJ11 connectors on the market and obviously, some are compatible with the Sky-Watcher hand controller. Here’s a gray cable I bought initially without paying attention to details. Don’t be like me.
Driver issue warning
After the driver installation, I noticed the system become choppy. When I clicked various menu items Windows took about a second to render them. I suspect FTDI messed something up in the driver. My mouse and keyboard are connected to the computer via USB, hence I blame their driver for interference with keyboard and mouse interrupt signals. I uninstalled the driver and removed the devices after the hand controller upgrade. I hope they will fix the bugs in the future releases of the driver. If this is a show-stopper for you – go the beaten path of the first option with two cables.
Download the loader and the firmware
Sky-Watcher has a good instruction manual for firmware upgrade. Make sure to study it first before doing anything to your controller.
You’ll need two pieces of software (on top of all the drivers you already installed for controller connectivity via USB):
- SynScan Firmware Loader is a Windows application that can flash your controller. It doesn’t include the firmware inside, it is just an executable. Grab the latest version that they have, regardless of the version of the controller you are upgrading.
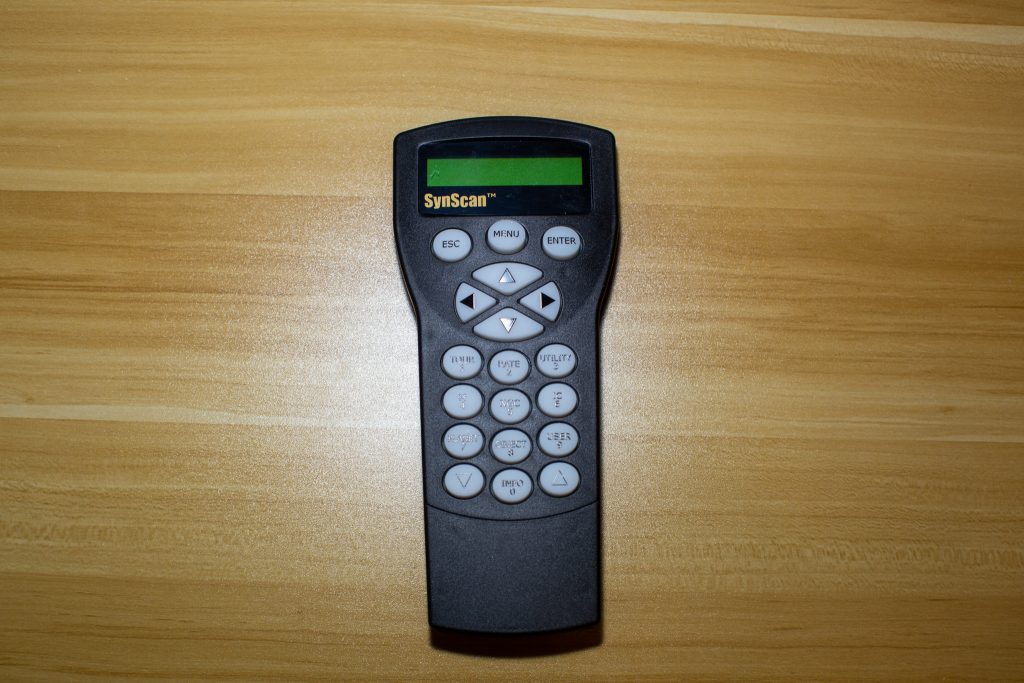
- SynScan Controller Firmware is the payload that Loader will be flashing the controller with. This one is controller-version specific. Make sure you get the right version of the firmware depending on how your controller looks. If it looks like the picture above in the post (with a USB Type B port) then grab the V4/V5 version of the firmware, otherwise go for V3.
Make sure you have all the files unzipped and ready on your hard drive. This is obvious, I know.
Power and connect the controller
While holding the “8” + “0” keys on the controller, stick the power supply into the right-most port. The controller doesn’t need to be connected to the mount at this time. It will turn on and tell you the loader version it is running. You can let go of the “8” and “0” keys.
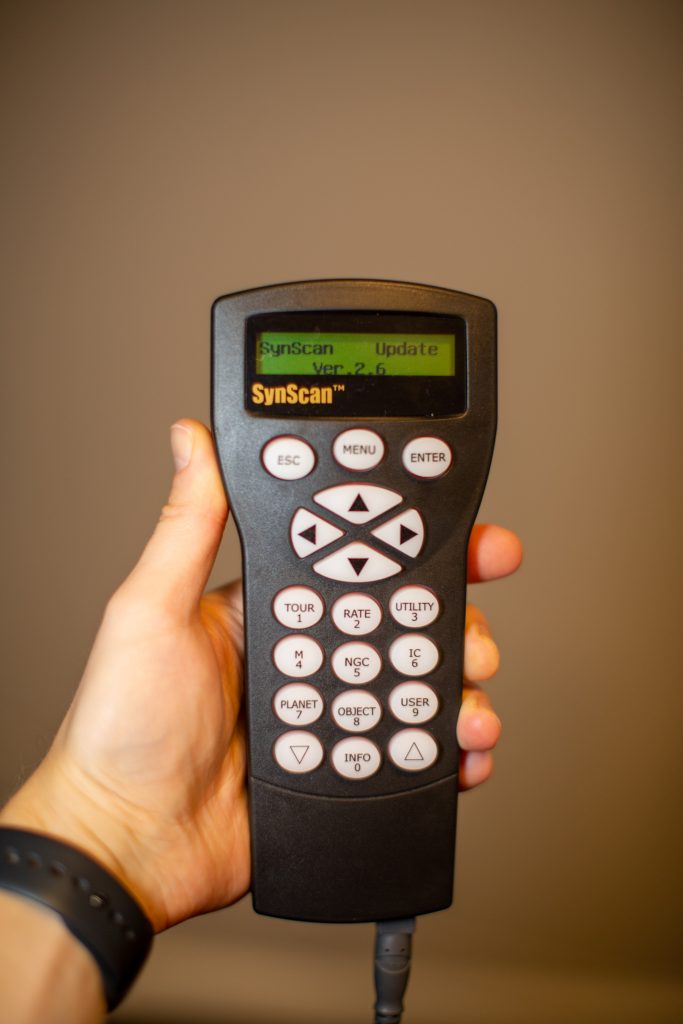
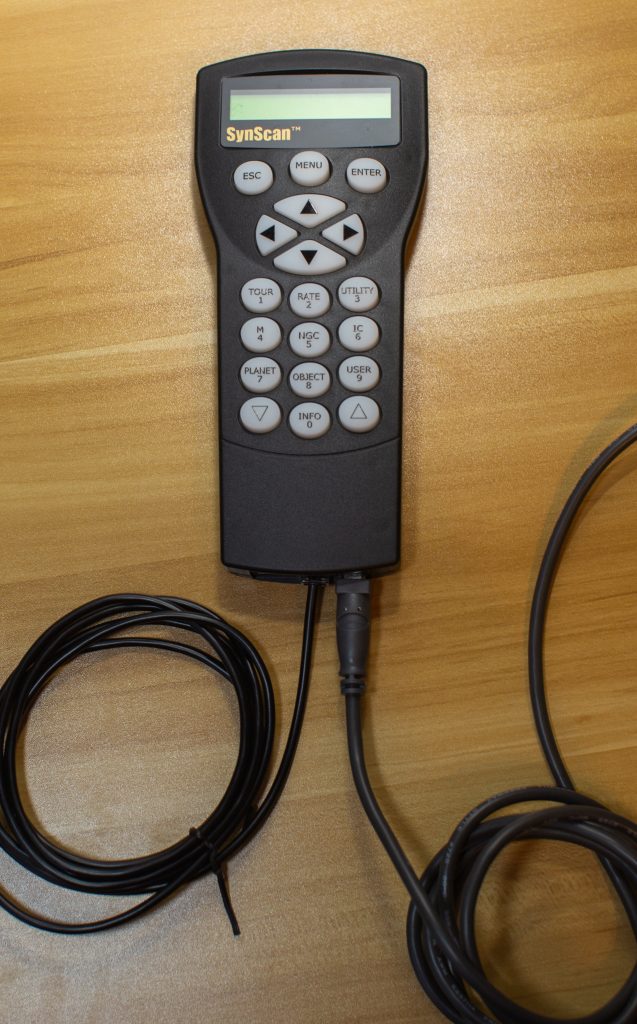
The next thing to do is to hook-up the data transfer cable between the PC and the hand controller. The computer won’t recognize it as a device and that’s OK. I took the picture below after flashing so ignore the dark screen. It should continue saying “SynScan” and “Update” with the version number.
Upgrade
Launch the firmware loader application on Windows. There aren’t that many buttons to click so click “HC. Version”. If you connected correctly the application will find the hand controller and read it.
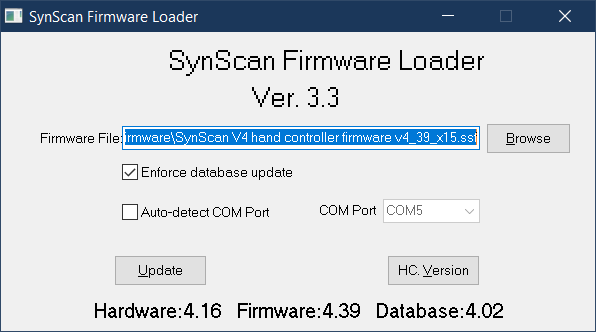
Click “Browse” and select the firmware you want to apply. Click “Update” and don’t touch the hand controller for a few minutes. You should see percent progress displayed at the bottom of the application. It will move slowly but steadily.
When the upgrade is complete it is safe to disconnect the hand controller. Go ahead and power-cycle it once just to make sure the process went smooth and it continues to boot. It would really suck noodle if you discovered a broken controller in the field in the middle of the clearest sky with no way to control your mount.
