
The technique we will be covering in this post applies to all Windows devices however an inspiration for this post came from a low powered Windows device Surface RT. One day Windows told me it ran out of disk space on the system drive. My Surface RT has only 24 GB of storage, which isn’t much, to begin with. However, I deleted every single application I could and religiously performed disk clean-up maintenance in Windows. That didn’t stop Windows from bloating to the point when system drive had merely 800 KB of disk space remaining. I had to do something radical because otherwise this device was destined for recycling. In this post I will share with you a secret stash of garbage Windows likes to keep around and how to deal with it.
Disclaimer: We will be relocating files to another device, so you’ll need either a USB storage or an SD card.
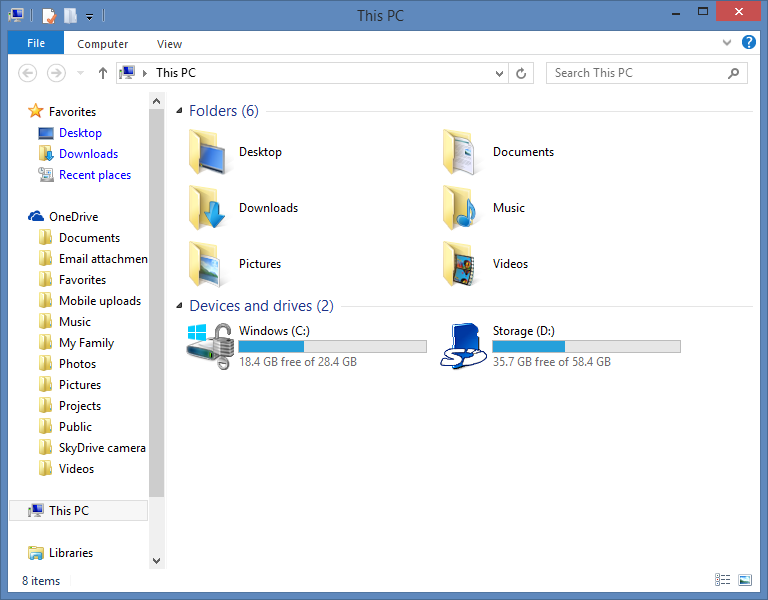
Inspect the drive
Before we do anything drastic it is worth checking how bad things really are. By default, Windows protects certain folders because they are critical for stable system behavior. Those folders are invisible.
- To see them in Windows Explorer click the “View” menu item.
- Click “Options” which will take you to a new window.
- In that window, switch to “View” tab as well
- Under “Advanced settings” checklist clear checkbox next to “Hide protected operating system files (Recommended)“.
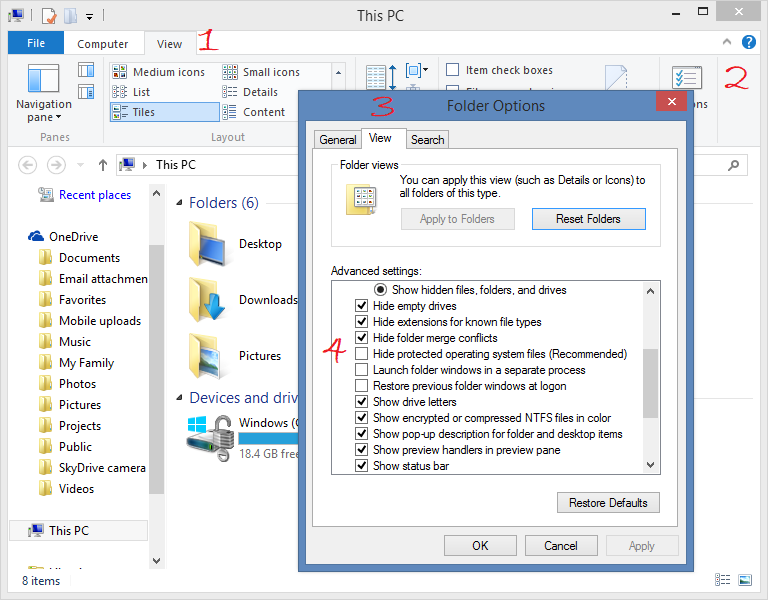
Now that you can see everything, be careful not to delete or rename an important file or a folder. You will brick your Windows.
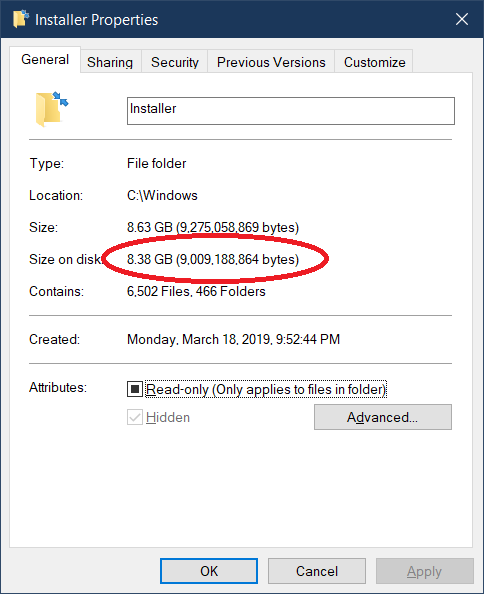
Go into your “C:\Windows” folder and right-click on “Installer“. You might be surprised how much space it takes on the disk.
What’s in that folder?
Software packaging and distribution is a common challenge that software vendors face. The interesting thing is that they all need to do about the same set of actions:
- Copy files into a specific location on the hard drive, relative to the parent folder path.
- Modify Windows Registry to add new components to the system. This could be the integration of a COM component for Windows Explorer, for example.
- Patching installed software with minor or major versions.
- Removal of software from the system
- All of these actions need to be performed transactionally, meaning they either complete in their entirety or none of them at all. If Installation fails to perform 5th action, it needs to undo the first 4 actions in the specific order.
Microsoft built a system to help with it and called it Windows Installer. Windows itself relies on Windows installer for upgrades and patching. You may notice two types of files in that folder:
- *.MSI – represents a brand new installation
- *.MSP – a patch of an existing installation
Every time a piece of software or system component is upgraded, MSI or MSP for that operation is cached in “C:\Windows\Installer“. These files will be used to apply future patches or rollback the application completely. Every file is important because it allows the Windows installer to create the right rollback plan and not leave any files lying around. If you’ve been running Windows for a while you may finder a lot of Windows patches in that folder.
Do not delete files in this folder. You will lose ability to patch or rollback software on your system.
Move the folder to another drive
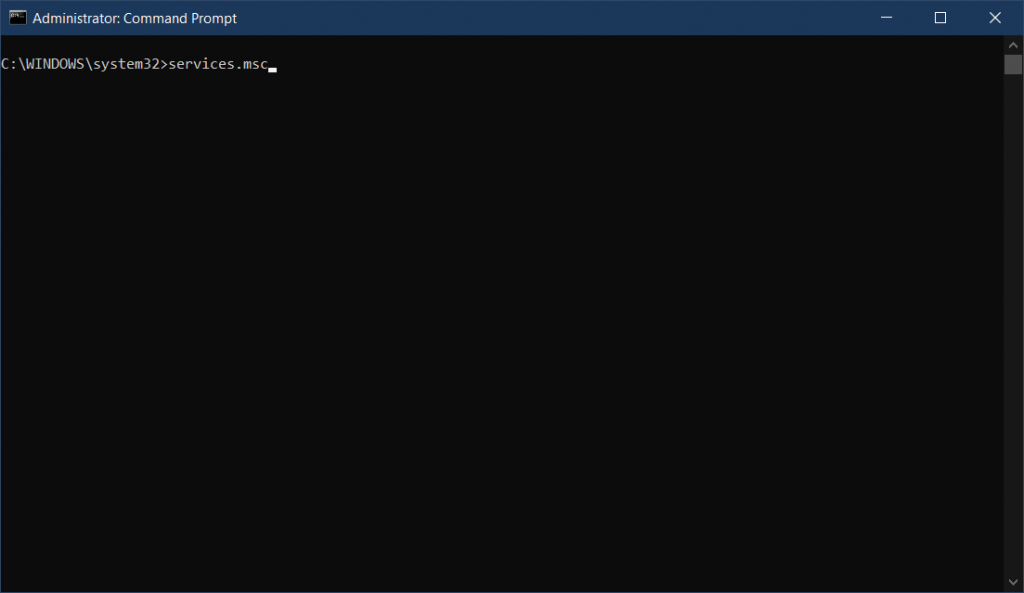
Before we start, make sure that there is no installation in progress on your system. Yanking the folder under the running installation will likely result in corruption. Open the command prompt as an administrator and execute “services.msc“.
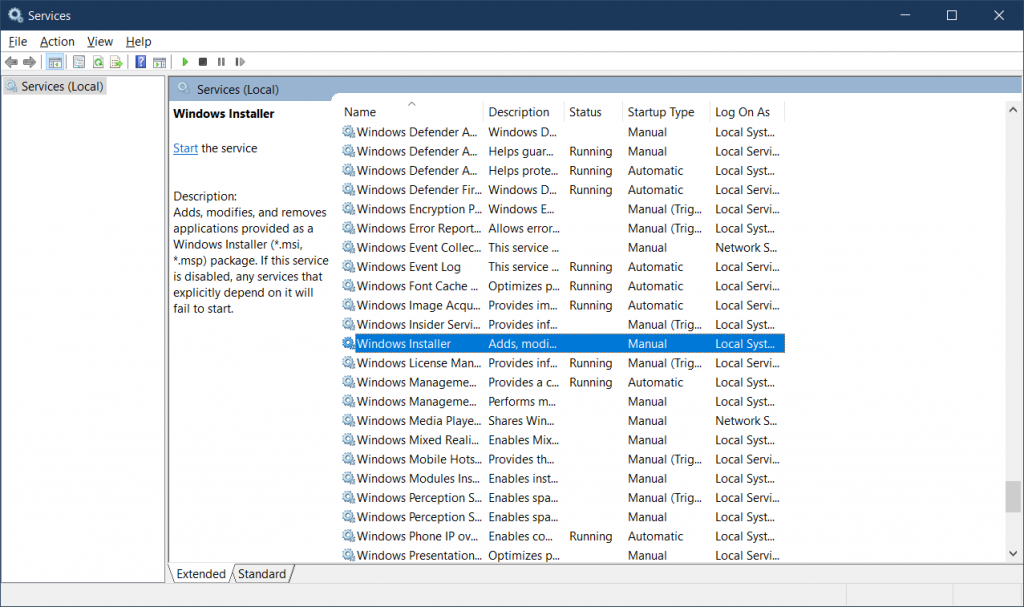
This will bring up the services dialog shown below. Scroll down to the “Windows Installer” service and make sure it is not “Running“. If it is running, I’d recommend waiting a bit to finish existing installations and then rebooting your Windows PC.
Now that we’re in the clear, our plan is:
- “MOVE” C:\Windows\Installer into another folder on a different drive. Moving on the same drive would obviously be fruitless because the same storage would be consumed on the same drive, just in a different place. Go ahead and create a folder on drive “D:” and let’s call it “WindowsInstaller”.
- “LINK” original file system path to a new location. This would make sure that all existing and future patches are available to Windows Installer.
We have to perform these actions quickly to avoid Windows Update waking up and deciding to install something while we have things in flight. Use the same administrator command prompt we used for “services.msc” to execute commands below.
robocopy C:\Windows\Installer D:\WindowsInstaller /MOVE /EOnce move is complete original folder C:\Windows\Installer will be deleted. Now we need to create a link from that location to the new path.
mklink /J C:\Windows\Installer D:\WindowsInstallerIf you are curious why we’re creating a “directory junction” (/J) rather than “directory symbolic link” (/D), there’s a great thread on the differences between the two on SuperUser.
Delete as the last resort
For completeness, I have to mention that there’s a Microsoft tool MSIZap that can purge the content of this folder. This is a one way street. Once you run it, certain applications or components will no longer be managed by Windows Installer. Use it only as the absolute last resort.
There’s another tool on the internet – PatchCleaner. It serves the same purpose and comes with a friendly UI. However, this knife is equally sharp and will result in failure to patch or delete applications from the system.